The Polyurea Coating Process
Our team has perfected our process and can apply your garage floor coating in as little as 1 day. Explore the many steps we follow to ensure your concrete is protected and your coatings are applied to perfection.

Your Floor Consultation Comes First
Before we coat your floors, you’ll get a personal floor consultation where our team will evaluate your floor and advise you on how to best protect it. The consultation will take about an hour and we ask all decision makers be present.
During the consultation, we will laser measure your space and evaluate the concrete for hardness, moisture, cracks, divots, and spalling (damage from salt residue and water).
You will then make your color choice (the best part!). Our consultants will have large color sample boards so you can see the options in your lighting and space.
Finally our consultants will present you with an accurate guaranteed in writing price on the spot! No we will not come back to you the day of the installation and ask for more money.
Proper Concrete Preparation is Imperative!
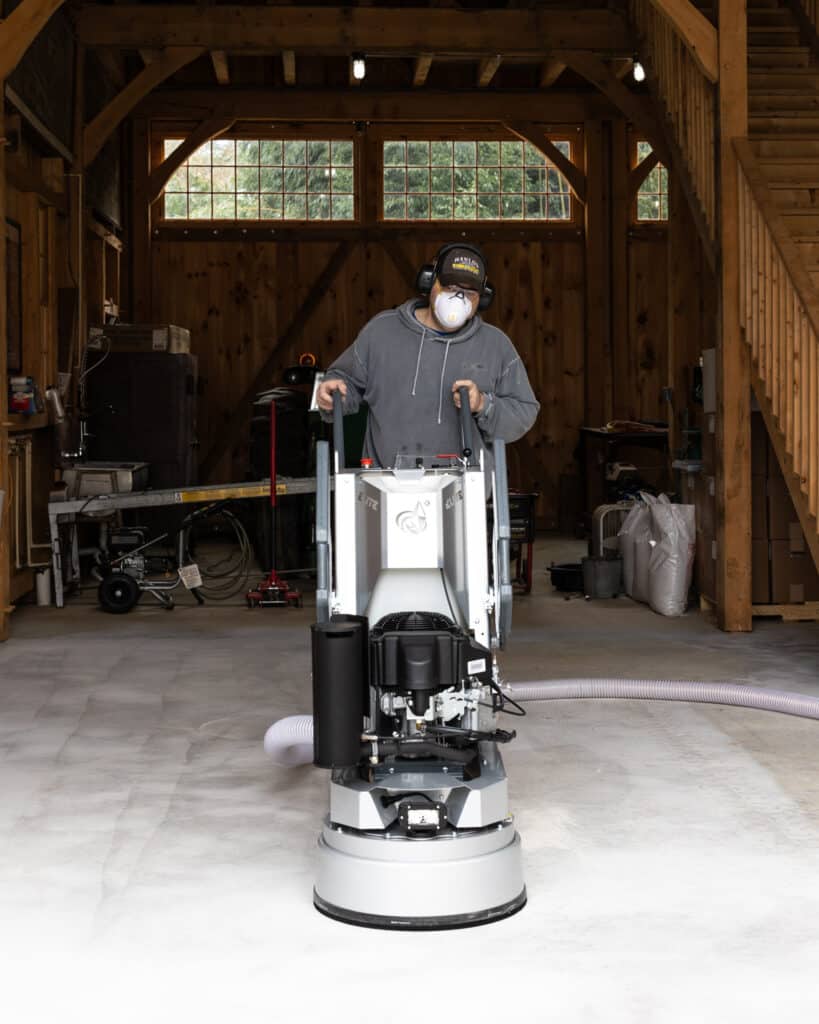
Have you seen your neighbors DIY or “professionally installed” floor peeling off? We see this everyday because DIYers and even “professional” companies typically don’t prep concrete properly. There are only 2 industry standard methods for concrete preparation. Diamond grinding or shot blasting. Paradise Concrete Coatings utilizes diamond grinding using state of the art Lavina grinders outfitted with the correct diamonds for your concrete. Yes believe it or not concrete has different surface hardness levels. We will remove the top layer of concrete along with “bond breakers” such as sealer, oil, grease, paint, etc… This opens up the pores of the concrete allowing the polyurea basecoat to become rooted as a part of your concrete. This is how we are able to provide our 15 Year Manufacturers Warranty against chipping and peeling.
If there are any cracks or divots in your concrete, we repair them as part of the installation preparation. This helps extend the life of your concrete for years to come.


The Polyurea Coating Installation
Pure Polyurea Basecoat Application
After your concrete has been properly prepared our certified installation team will apply a two component tinted 100% solids pure Polyurea basecoat.
Color Flake Broadcast
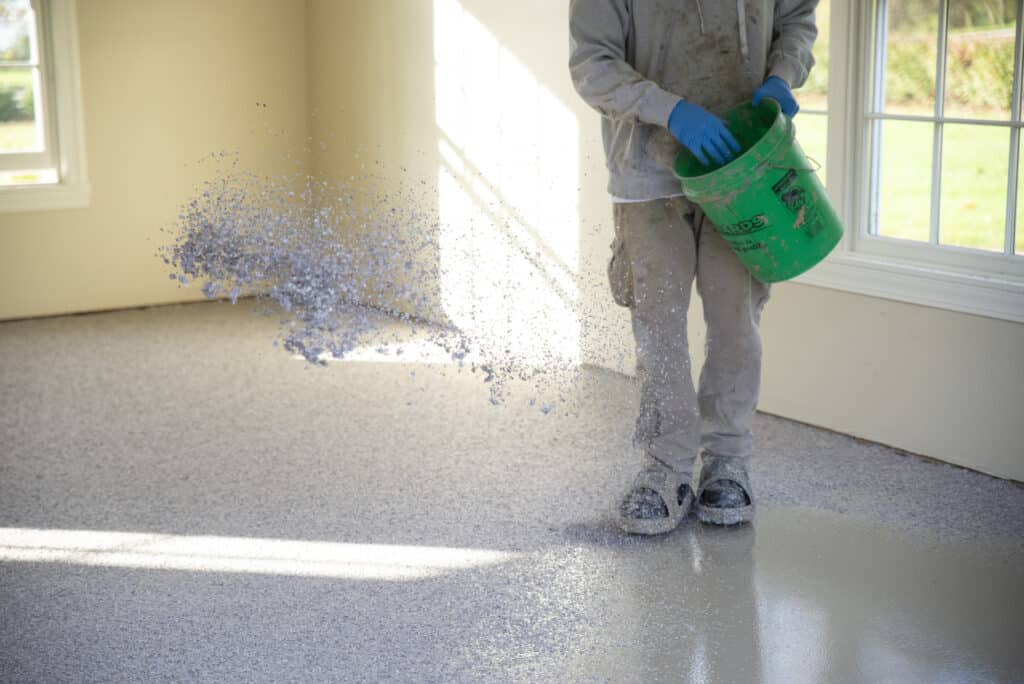
Following polyurea basecoat, the installers will distribute colored 100% UV stable vinyl flakes to refusal. Refusal means there will be plenty of flakes on the floor providing a consistent look unlike ugly DIY kits from big box stores.
Lunchtime
Yes our crews work very hard and will enjoy a break for some lunch and a little rest! Typically about an hour and a half.
Scraping
Your floor will be scraped in multiple directions to complete the uniform look and knock off any sharp edges for a comfortable barefoot experience.
Final Vacuuming
Leave the vacuuming to us! We will clean up and reclaim all the excess flakes for minimal waste and future project use.
100% Solids Polyaspartic Topcoat
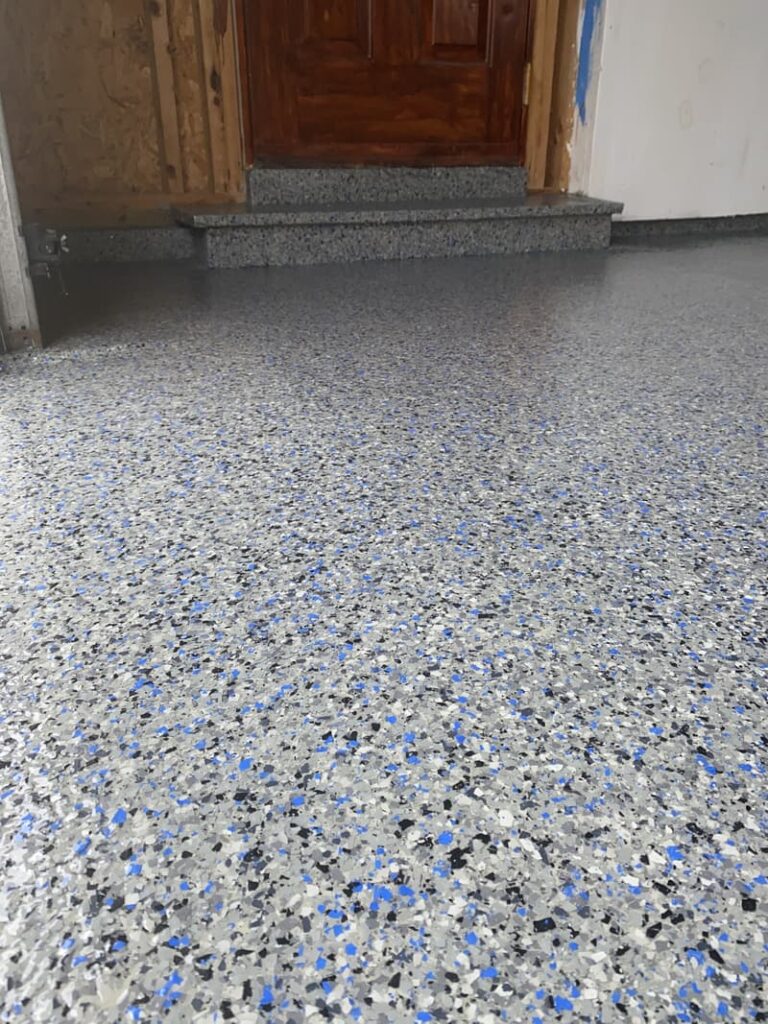
Our industry leading Polyaspartic topcoat is applied with a squeegee to achieve proper sealing. Edges are cut in with brushes. Back rolling will then be completed and finally finish rolling to ensure full encapsulation of the chip and an even finish coat. This is your protective layer. It is resistant to road salt, car chemicals, and has extreme abrasion and stain resistance. We also can introduce media into the topcoat for different levels of texture for slip resistance.
Your Paradise Awaits! Give Paradise Concrete Coatings a call!
